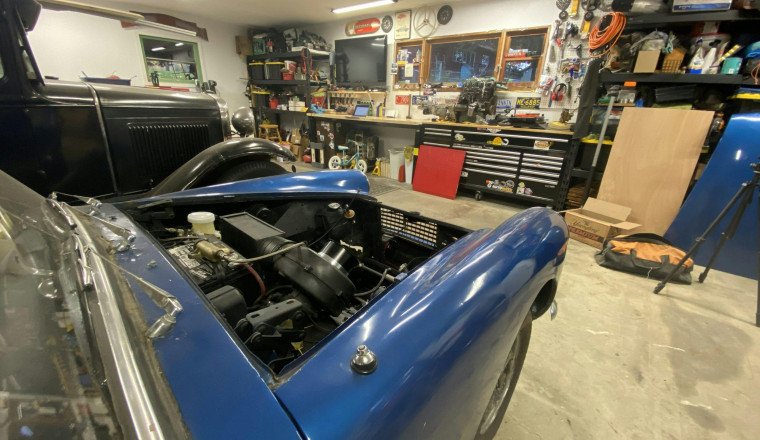
The final step of a DIY project is usually so simple—like setting the air cleaner back on and hand-tightening the final nut. If you are in the right state of mind, you might not even realize you just finished a project. Or have you?
Even if your only goal, in a particular evening, is to tie the proverbial bow atop your latest DIY project, there are a few things to do before you start celebrating. Follow these seven steps, and you’ll set yourself — and your garage — up for success when the next project begins. Because there’s always another project …
While it might be rare, sometimes combining your projects is easier than breaking them into smaller jobs. If you’ve already got the tools out—and especially if you’re already in the right positive mindset—capitalize on the opportunity by tackling something that’s already apart. If your car is already in the air for an oil change, for instance, take the time to grab the grease gun and make sure everything is lubed up properly.
If you really are done working for the day, week, month, or even year, take a moment to wipe down and put away the tools you used. Just because tools are more affordable than ever is no reason to abuse them. You’re doing your future self a favor—nobody with a fresh, exciting project wants to open a tool chest and find dirty tools … or, worse, wonder where they are.
Used parts sitting around on the floor or workbench get very annoying very fast. Not only are they a trip hazard, but they are also taking up space that could be used in more productive ways. Old parts might also have some value—maybe they’re original, and you can use them in a future restoration, or perhaps you can scrap them for a few extra dollars.
Hoarding a large stash of parts is not a terrible thing to do, but be sure to keep a list of what is in the stash, and where—otherwise, it’s just a pile of junk to most people.
If we should pick up tools and parts off the floor to eliminate trip hazards, we should definitely follow through and clean up any spilled fluids. Just about every fluid in a car is slick or toxic in some way, so leaving puddles around the driveway or garage is never a good idea—especially if you have pets or people who walk through or around your garage space. (And even if you don’t — your own safety is important!) Empty drain pans into closed containers so they can be properly disposed of and throw down some absorbent on any spills. These will only get more annoying the longer you wait.
While most automotive chemicals are not drying oils that risk self-ignition, there is still a lot of fire risk in allowing chemical-soaked rags to hang around your shop. They’re just waiting to catch an errant spark and send the whole place up in flames. You have a fire extinguisher handy, but do you really want to have to use it? Tossing or cleaning gross rags also prevents you from unknowingly grabbing a dirty one just to give something a quick wipe-off. That a mindless action could mix chemicals or cause unintended damage—that rag may have looked clean when you grabbed it, but what if it was actually full of metal swarf and cutting oil?
Documenting your work can be as complicated or as easy as you want it to be. If you are a picture- or video-taking type, get out the camera and start snappin’. If that’s not your thing, at least take a moment to recognize the work you’ve done and how it came out. Did things go to plan? Is the result what you expected? Reflecting on the project is not wasted time, even if it’s not written down anywhere.
Play the DIY game for any amount of time, and you’ll soon find that the work never ends. Nothing lasts forever and we are all just trying to make our beloved cars last longer than ourselves, which means there will always be another job to do. But if you’ve turned the last wrench and checked all the boxes on this list, take a moment to celebrate. You’ve earned it!
#8 You need to hide the parts you have left over and don’t remember where they go. LOL!
Silly premise if’n you ask me: Projects are NEVER “done”! 😉


Facebook Conversations